MacOS X上に仮想化ソフトウェアとしてVirtualBox、仮想環境管理ツールとしてVagrantを導入し、CentOS環境を構築する手順の記録。
※2014.7.31現在の内容です
■前提条件
・MacOS X 10.9.4
・VirtualBox 4.3.14
・Vagrant 1.6.3
・CentOS 6.4
■手順
(1) VirtualBoxのインストール
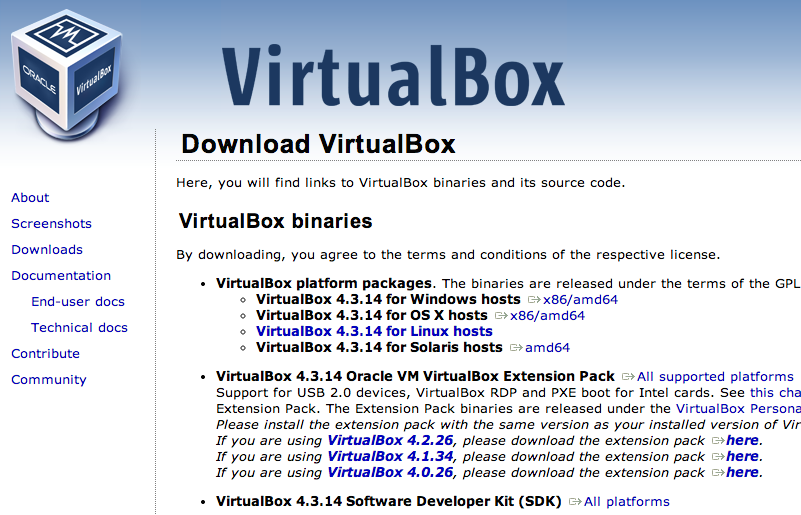
下記ページの
https://www.virtualbox.org/wiki/Downloads
VirtualBox 4.3.14 for OS X hosts の x86/amd64
をクリックしてdmgファイルをダウンロードし、MacOS Xにインストール。
(2) Vagrantをインストール

下記ページの
http://www.vagrantup.com/downloads
MAC OS X Universal (32 and 64-bit)
をクリックしてdmgファイルをダウンロードし、MacOS Xにインストール。
(3) boxファイルをダウンロード
以下のサイトにboxファイルが列挙されています。
http://www.vagrantbox.es/
今回はCentOS 6.4 x86_64 Minimalを導入します。
[bash gutter=”0″]
$ vagrant box add centos64 http://developer.nrel.gov/downloads/vagrant-boxes/CentOS-6.4-x86_64-v20131103.box
==> box: Adding box ‘centos64’ (v0) for provider:
box: Downloading: http://developer.nrel.gov/downloads/vagrant-boxes/CentOS-6.4-x86_64-v20131103.box
==> box: Successfully added box ‘centos64’ (v0) for ‘virtualbox’!
$ vagrant box list
centos64 (virtualbox, 0)
[/bash]
ダウンロード完了までには少し時間がかかります。
(5) 任意の場所に仮想マシン用のディレクトリを作成
[bash gutter=”0″]
$ mkdir centos
$ cd centos
[/bash]
(6) 仮想マシンの初期化
[bash gutter=”0″]
$ vagrant init centos64
A `Vagrantfile` has been placed in this directory. You are now
ready to `vagrant up` your first virtual environment! Please read
the comments in the Vagrantfile as well as documentation on
`vagrantup.com` for more information on using Vagrant.
[/bash]
Vagrantfileが生成されます。
(7) 仮想マシンの起動
[bash gutter=”0″]
$ vagrant up
Bringing machine ‘default’ up with ‘virtualbox’ provider…
==> default: Importing base box ‘centos64’…
==> default: Matching MAC address for NAT networking…
==> default: Setting the name of the VM: centos_default_1406797151929_32405
==> default: Clearing any previously set network interfaces…
==> default: Preparing network interfaces based on configuration…
default: Adapter 1: nat
==> default: Forwarding ports…
default: 22 => 2222 (adapter 1)
==> default: Booting VM…
==> default: Waiting for machine to boot. This may take a few minutes…
default: SSH address: 127.0.0.1:2222
default: SSH username: vagrant
default: SSH auth method: private key
default: Warning: Connection timeout. Retrying…
default: Warning: Connection timeout. Retrying…
==> default: Machine booted and ready!
==> default: Checking for guest additions in VM…
default: The guest additions on this VM do not match the installed version of
default: VirtualBox! In most cases this is fine, but in rare cases it can
default: prevent things such as shared folders from working properly. If you see
default: shared folder errors, please make sure the guest additions within the
default: virtual machine match the version of VirtualBox you have installed on
default: your host and reload your VM.
default:
default: Guest Additions Version: 4.2.12
default: VirtualBox Version: 4.3
==> default: Mounting shared folders…
default: /vagrant => /Users/****/centos
[/bash]
これで仮想マシンが立ち上がりました。
(8) 仮想マシンに接続
[bash gutter=”0″]
$ vagrant ssh
[vagrant@localhost ~]$
[/bash]
インストールしっぱなしの状態ですが、下準備はOKです。あとは必要に応じて環境を構築していきます。
なお、仮想マシンを常時起動しておくとマシンリソースを消費しますので、不要なときはシャットダウンしておきます。
シャットダウンは、
[bash gutter=”0″]
$ vagrant halt
==> default: Attempting graceful shutdown of VM…
[/bash]
これでOKです。